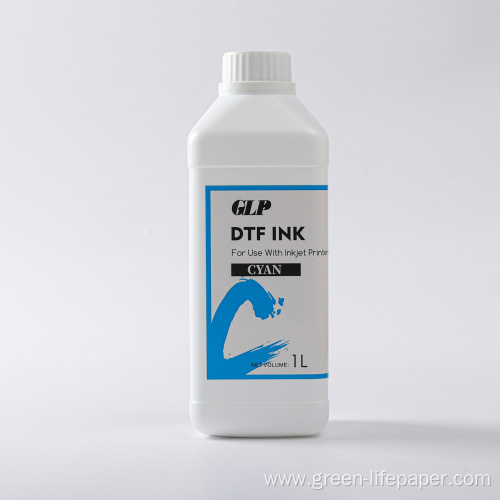
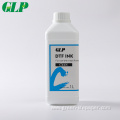
High quality DTF pigment ink
Here is a step-by-step breakdown of the DTF printing process:
Start by preparing your artwork for a transparent background at 300 dpi. You will also need to create a channel for the white layer.
You then deliver the artwork via RIP software. In addition to the software that usually comes with DTF machines, there are several alternatives available, such as Cadlink, Wasatch and Flexi.
Next, the artwork is printed onto clear PET release film using an inkjet printer and CMYK+W Textile Pigment Ink.
After the printing stage, the film passes over a heated platen and enters a binder powder bath. The powder only adheres to the wet ink areas.
As the film moves toward the tunnel oven, any remaining powder in non-image areas is shaken off.
Inside the tunnel furnace, the ink solidifies and the binder powder melts. When cured correctly, this process creates a unique "orange peel" texture.
After leaving the oven, the film is cooled with the help of a fan and then rolled up for storage or transportation.